Local Markets :
May - October*
The Old Red Mill Farmer's Market
Saturday 9am-1pm
Lowell Farmer's Market
Thursday 2pm-7pm
Downtown Dewitt Farmer's Market
Tuesday 4pm-7pm
Allen Farmer's Market
Wednesday 3pm-6:30pm
*Varies by Market
"Cottage Food" Laws - National Agricultural Law Center
MSU Extension - Cottage Food Law
MSU - Cottage Food Law Online Course
You can email me at JMoffatt.Sales@Gmail to place product orders or get information on my Cottage Foods!
June 2026 | Drying Herbs Passively
As of editing this, I've built an herb dryer to go outside made of a single drawer, 1/2" wire, and some nails. The wire makes a floor & a door and hooks on a final nail to stay shut. I sprayed it down with some white vinegar, and it's now propped up on a few pieces of wood on top of another container. It's been working great so far.
You can also use a string to hang your -large- herbs, or hang them right off a nail head, if you want.
You can dry plants indoors or somewhere outside- a porch works well. Good ventilation and warm air are best, but you really only need somewhere with dry air and no direct sunlight; use a cloth if you need to block the light.
It's best practice to harvest herbs in the morning before the sun dries out the plants. Pick a day that is dry and warm, or at least not humid or rainy- too much moisture during the drying process will result in brown leaves and poor quality. I've found that the first day or so is extremely important for getting well-dried, green herbs.
Wash the herbs in cold water before you hang them. Letting them soak in ice water is the best method, try your best with large herbs- I finish mine with a rinse of cold water, give them a little shake, and they're ready!
Some herbs will pull out by the root; after washing off the soil, wrap the string around the base of the stem, above the root. When you hang the plant, the main stem should hang upside-down towards the floor.
Other times, the stems of herbs are cut, leaving the root to continue growing. In this case, you'll need to use the petioles and the stem to hang your plant. I like to wrap the string underneath and around an upside-down "y" in the stem, or if I don't have one of those, partway around the stem, underneath the petioles, then turn the stem of the plant the rest of the way, avoiding a leafy mess. Repeat this step, adding extra wraps around the petioles until you feel certain the wind - or gravity- won't take out your bundle. I prefer to hang my stems about five or so inches apart from each other on the same string, letting them drape down several feet from the ceiling. I find this method leads to drier herbs and less frustration fighting gravity and strings. Another method is to hang all of the stems in a single bundle, which I use for small harvests- otherwise, I lose too many pieces to the floor.
I prefer to only cut my sting after my garland of herbs is ready. Keep about 3-5 inches of string at the top of your bundle to use to hang it later, and secure the last herb with a knot. Make a second knot on the top of the 3ish inches you left; I prefer a lasso-style knot that will tighten over the nail, so I don't have to hold up heavy herbs while trying to make tiny knots, and I can pull the knot down the string to easily remove my herbs.
Let the bundles dry. This can take one very hot afternoon or several weeks. Timing is important! Just remember that moisture grows problems like bacteria and mold- we want to remove as much moisture as quickly as possible! Once it is dry to the touch, it is ready to be de-stemmed and jarred. Destemming helps remove any hazardous moisture; always keep an eye out for any moisture buildup on the inside or bottom of your jar, or you could grow mold. Herbs are safe and delicious for multiple years when completely dried.
Make sure your pets don't have access to your plants- several garden herbs are toxic to pets- and that the plants stay out of direct sunlight.
Some herbs that I recommend hang-drying are catnip, sweet marjoram, mint, and balm- these leaves are thin or small, and they can be hung easily by the petioles, stems, or roots. Thick or woody herbs take longer to dry properly; I recommend drying herbs like basil, rosemary, and sage on particularly hot days, (or you may have to put them in the dehydrator, if that is an option) that way there is no opportunity for moisture to cause havoc.
Oct. 2025 | Fish & Parsely
This 'One-Pot' recipe is heavily inspired by a Wild Game recipe I found at an Estate Sale. It originally calls for Catfish and just way too much butter, but it is very versatile and easy!
Ingredients
Fish of Choice - The original recipe calls for 2lbs of Catfish;
I usually use a few filets of pollack.
Parsley - 1/3 to 2/3 Cups of Fresh Chopped Parsley.
If you want to use dry parsley, use only 1/3 of
the weight suggested for fresh herbs- and crush them thoroughly!
Butter or Cooking Oil - ~3 Tbs
Mushrooms - 1-2 Cups
Salt - 1 Tsp
Pepper - 1 Tsp
Optional - Spinach - ~1 Cup
If you're using fresh mushrooms, they will take more time
and release more water while cooking- meaning you may
want less butter in order to cook them fully!
Sometimes, I partially substitute the Parsley with another herb
like Dill, Thyme, or Oregano, depending on how I feel that day.
The pores of a metal pan will close when heated before use- it is ready to use when water immediately beads and can quickly travel around the pan like a marble. This is particularly useful for frying food. Butter is at temperature for frying when thin, white smoke can be seen coming from the surface.
How to Cook
Pre-heat your pan, then add your butter or oil, allowing it to heat slightly.
Place the fish in the pan.
Add your mushrooms to the pan, and fully cook them and the fish.
Adding herbs too early can overcook them and reduce their flavor, and adding salt too early can overdry your mushrooms and fish.
Mix your Salt, Pepper, and Parsley into the pan, then turn the stove to low or off.
Now is the time to heat the spinach in the pan, as well...
This meal is great with a bit of Parmesan or cottage cheese. It's absolutely perfect for an easy, at-home meal without much fuss.
I hope you enjoy this meal as much as I have!
Happy Cooking!
What herbs do you want to use in your cooking? Will it be Savory? Sweet? Spicy? There are many uses for garden-herb-infused butter; everything from desserts to breads- if it uses butter or oil, you can infuse your herbs of choice to bring a delicious twist to your treats. This works perfectly with box options if you don't want to bake from scratch, and is very easy to make for all skill levels. This spicy goodness will have you wondering why you don't infuse herbs into every recipe.
Melt the total amount of butter you will need for your recipe OR measure out your oil. Have a container and flat surface ready so that the infusion can steep for a handful of hours. You can melt the butter in a microwave-safe container or heat it up slowly in a small pot or pan.
If using dry herbs, use about 1 Tbs of (originally) uncrushed herbs or 1 tsp of pre-crushed herbs for a recipe that makes about 24 cookies or 1 box cake. I've found that close to 2 Tbs is too much to comfortably eat.
Fresh herbs are going to be 3 times less potent than dried herbs, so you will want to increase the recipe accordingly, if need be.
Crush the herbs to a size you would prefer to chew before mixing them on top of the butter. Do not let the herbs sit on the bottom of your container under the butter- the herbs won't steep properly from down there.
For Rosemary, I have noticed that I prefer to use more than the normal 1 Tbs. It's also not a bad idea to use only lightly crushed rosemary and remove it from your butter to use as a topping on your final product. Just remember to use the correct softness of butter for your recipe, not just hot, melted butter, especially if you find yourself reheating the butter to remove the herb pieces. Otherwise, be sure to crush the rosemary into very small pieces to avoid poking the eater's mouth.
Let soak overnight or throughout the day for a stronger flavor OR use it right away.
I have also stored mine in the freezer for later use, which wasn't bad, but the texture of the butter was different, for sure. Cookies were still bomb AF, though.
Sept. 2025 | New Vendor at the Market
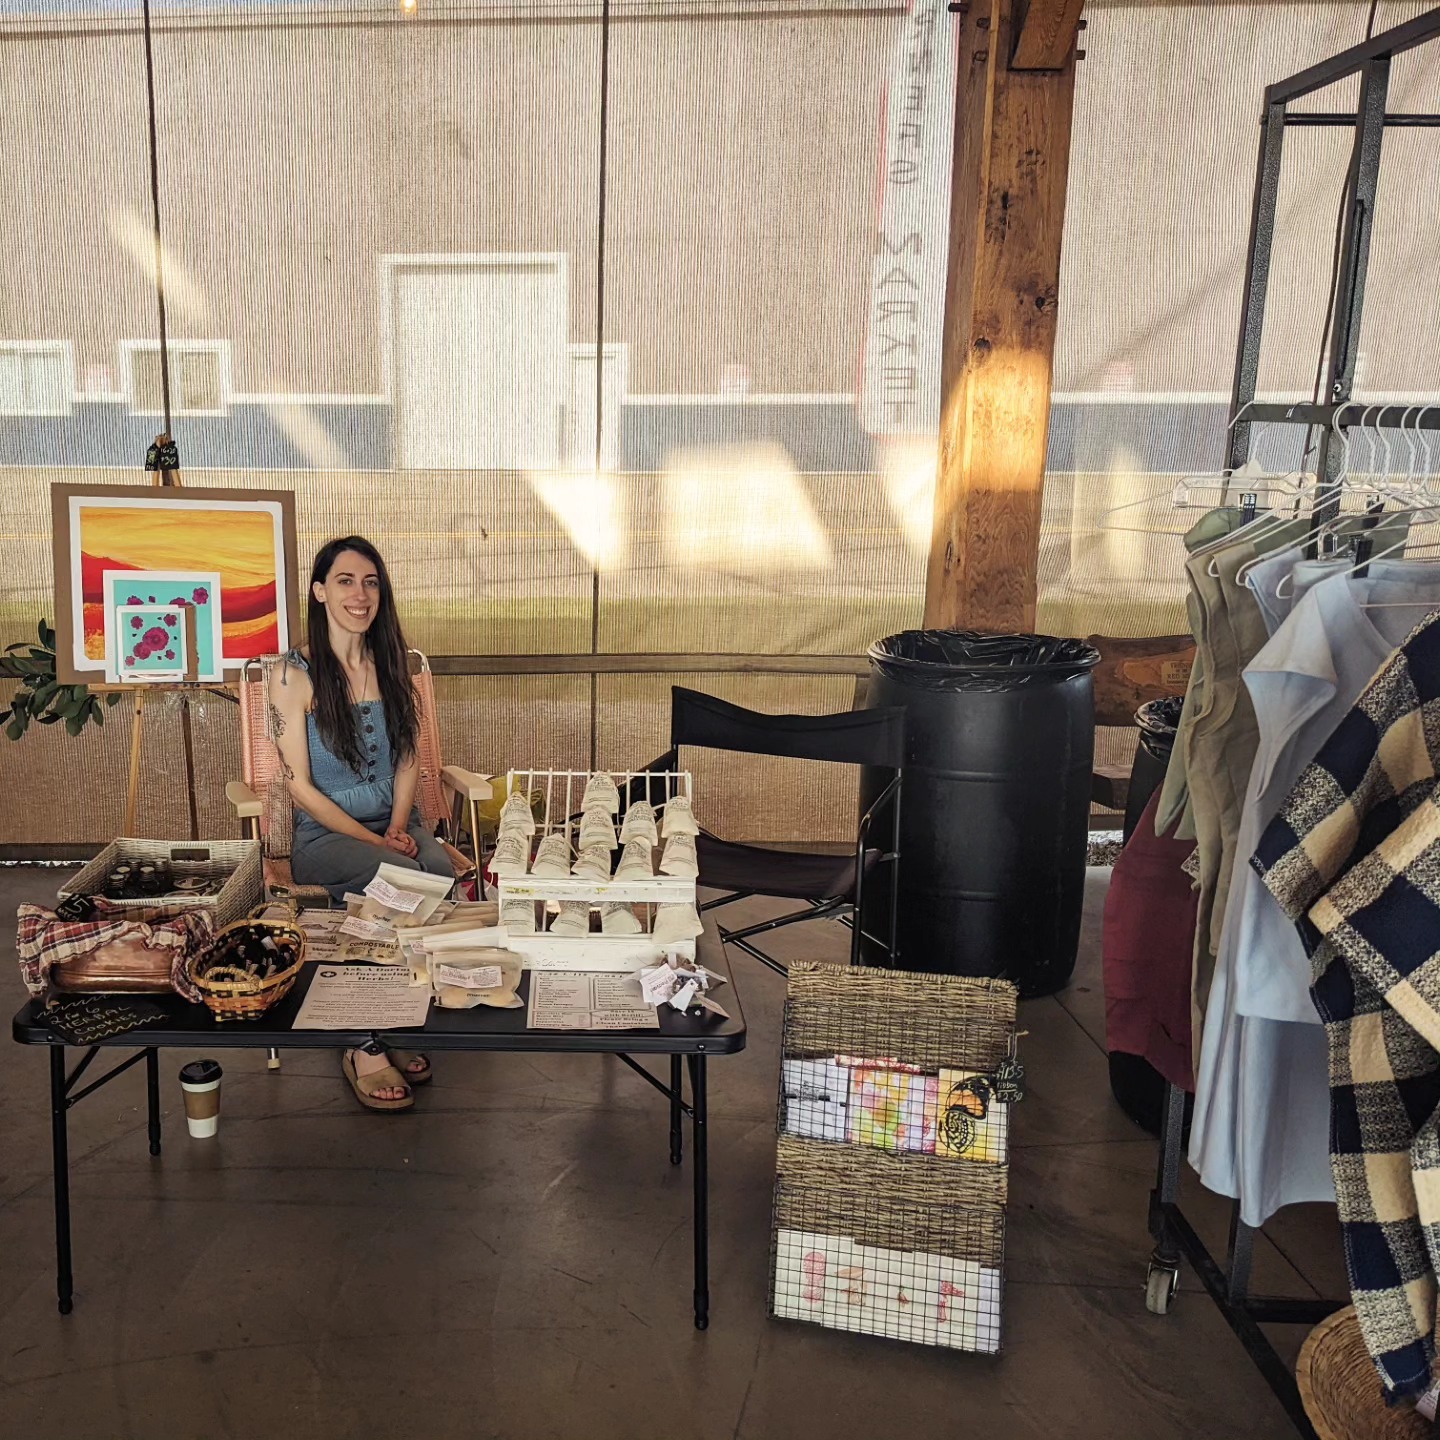
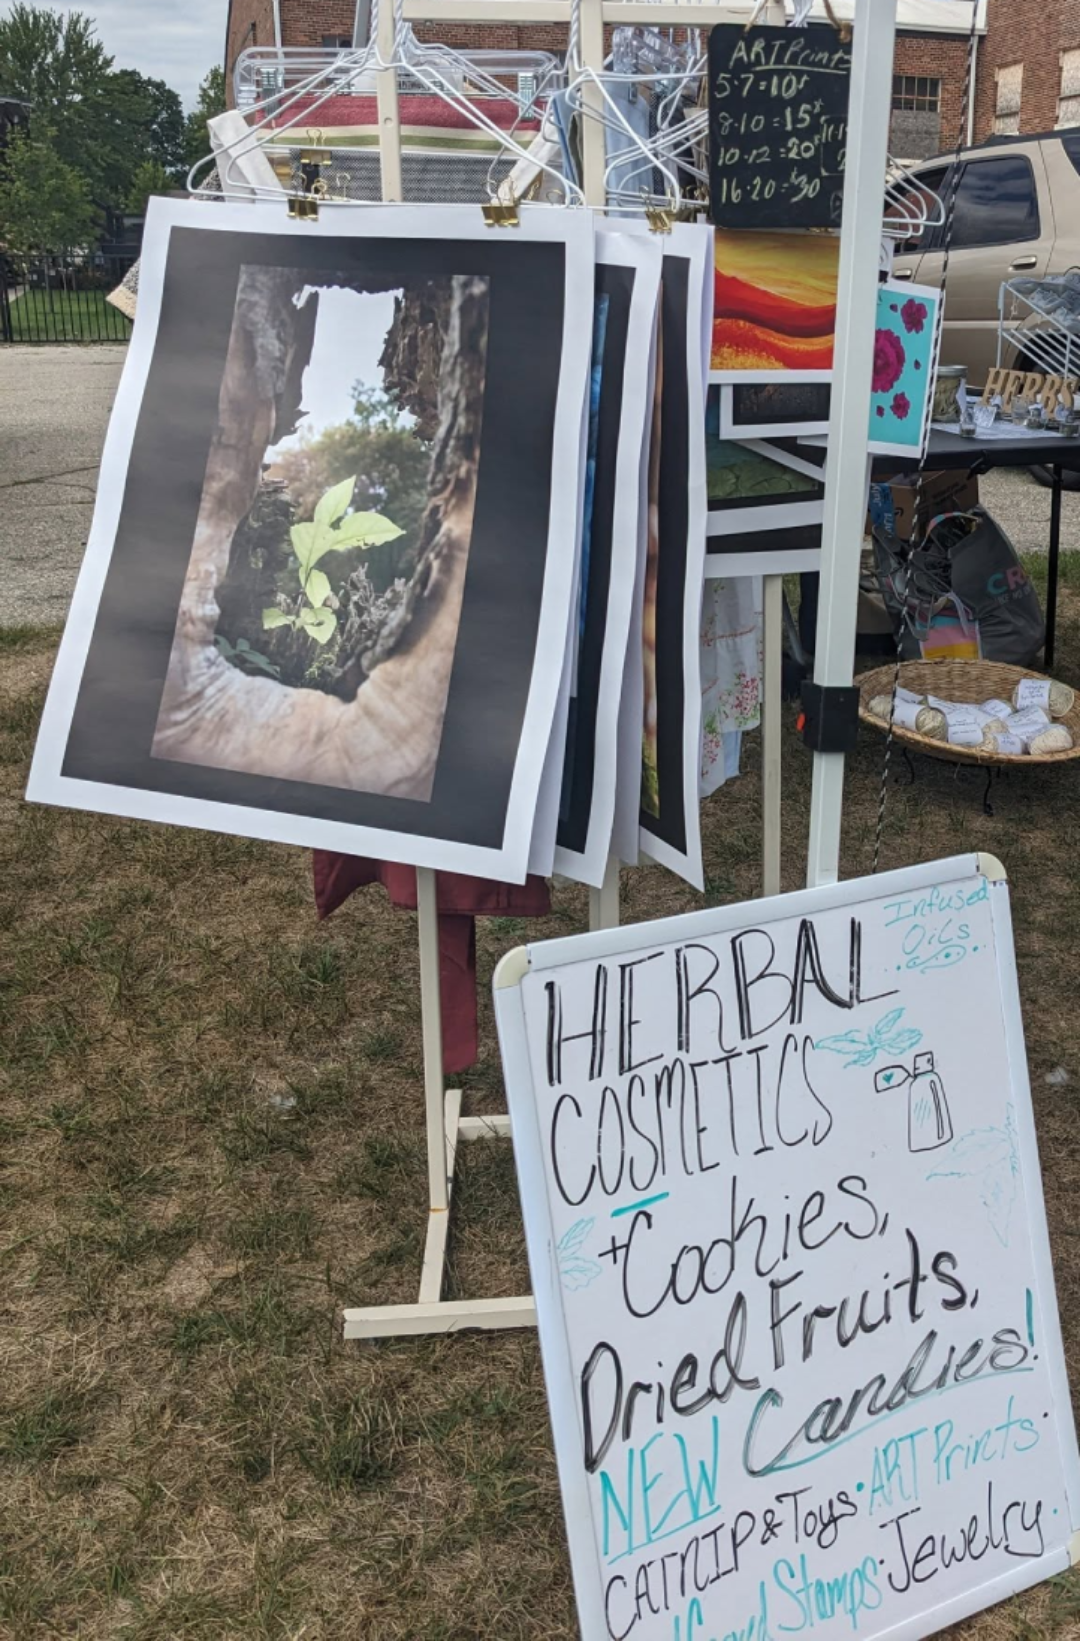
This has been my first year vending at any ~Official~ farmer's market, but two years ago, I started as a little road-side stand selling dried herbs. I worked very hard to add a large variety of goods to sell along with the dried herbs at the market- while still using Permaculture and aiming to avoid using companies, products, and methods that are not sustainable.
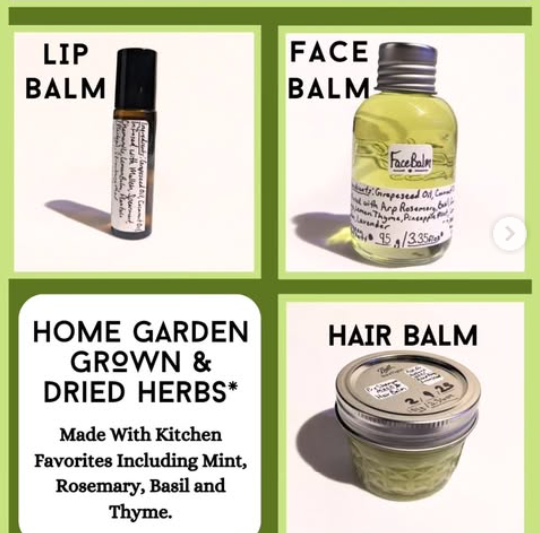
♦ Herbal Infused Cosmetics ♦ Handmade Clothing+ ♦ Art Prints ♦ Jewelry ♦
♦ Dried Herbs ♦ Herbal Desserts & Candy ♦ Dried Fruits ♦ Catnip & Toys ♦
♦ Natural Dyed Clothing, Yarn & Textiles ♦ Occasion Cards ♦ Wine Stoppers ♦
.png)
.png)
.png)
About the Farmstand
Permaculture is the main focus of my business; my products are made using second hand fabrics, natural materials, and local sources - and of course, clearance items!! I do have somewhat of an exception for artwork because I do want you to love that forever <3 (and sometimes you do end up saving some perfectly useful materials from the landfill).
My products use materials like glass, rubber, and cotton packaging that are from the Earth and can easily be returned to it when its lifetime is up. I prefer to use metal or wooden displays over plastic - and they are all second hand (Thank You Joanne's!)- except for the hangers… I choose the food products I make to avoid waste as well, like making hard candies or dehydrating foods to keep them good to eat for much longer! I also find multiple uses for my herbs, like dying fibers with lower quality plants and using many leftover stems for a fertilizer called "weed soup" - ( just plant material and water), which is full of nutrients for the garden.
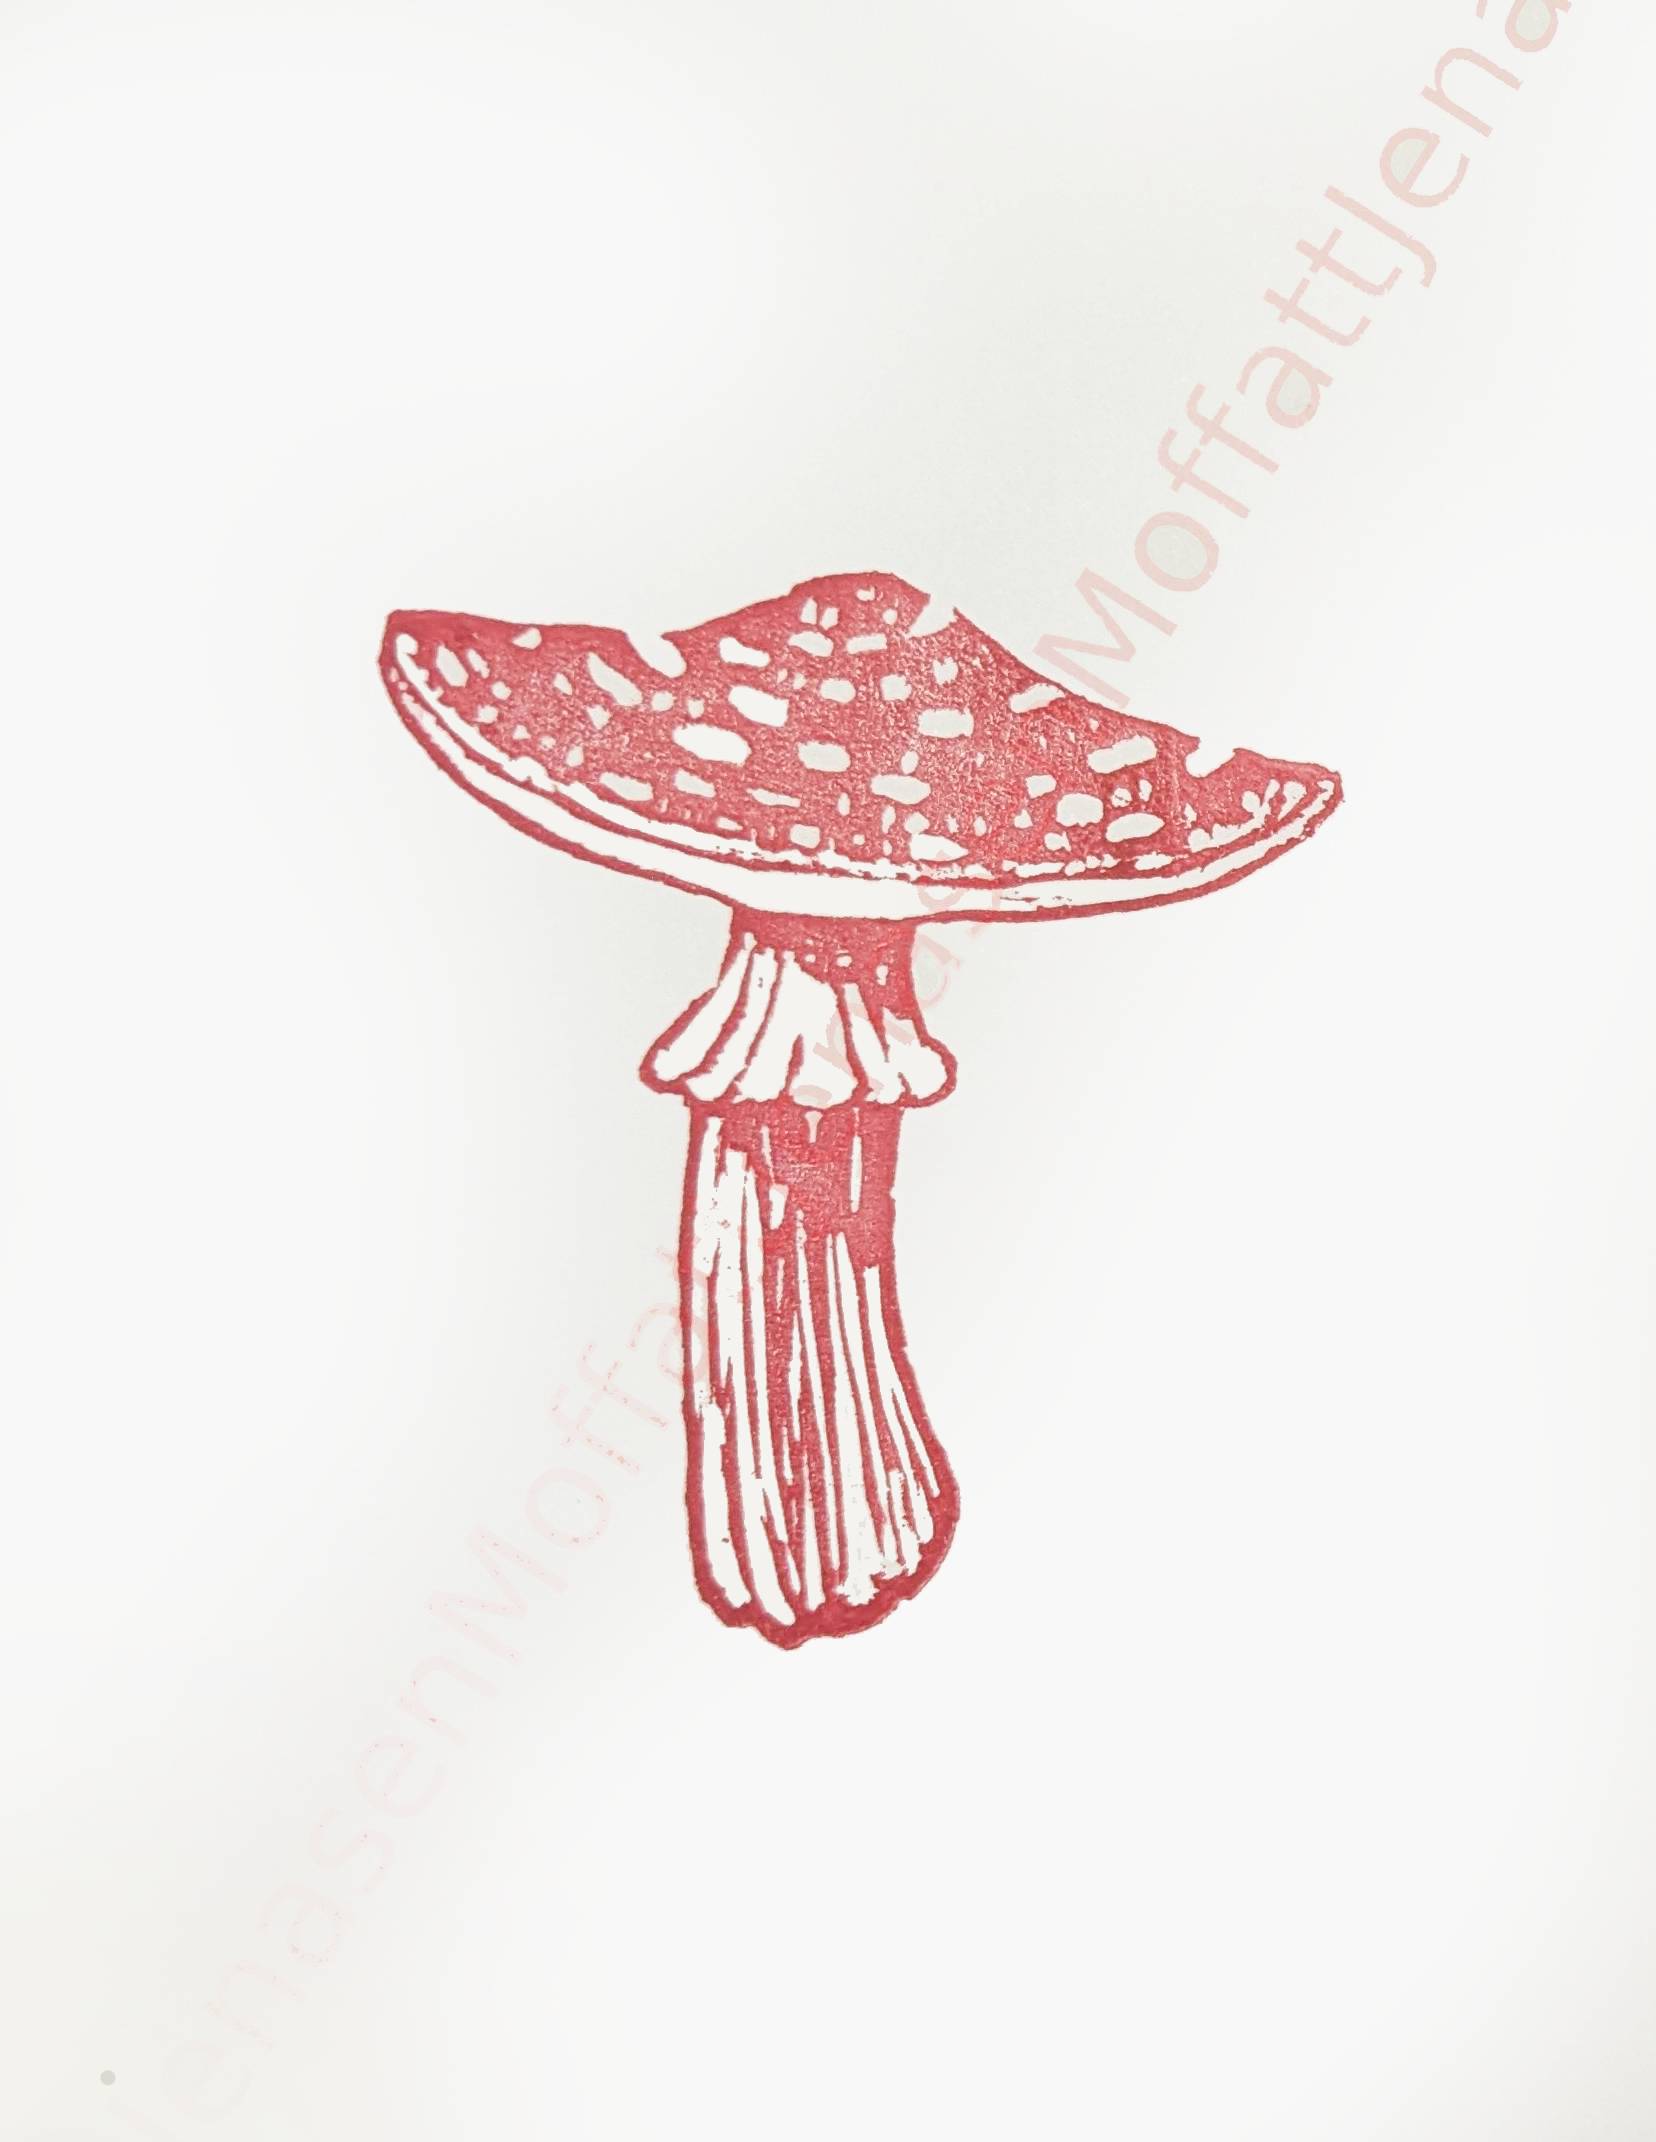
I love to experiment with different art mediums, including pen, paint, photography, & glass etching, among many others... I also love drinking tea and cooking with herbs - even my glass of water can't go unseasoned! I'm fascinated by the natural world and its abundant resources and interesting affairs, which I hope to share with you all!
About Me
Hi! I'm Jenasen, the owner of this blog! Welcome, and let me tell you a
bit about myself …I am 23 years old ( as of writing this ), I love the
arts and the outdoors, as well as video games and, mainly nonfiction,
books. I have been making art since middle school, when I learned how
to create a portrait through body art and makeup tutorials (Shout out
to MadeYewLook on YouTube!). I learned how to code in AP Computer
Science, and I won my Class Senior Awards for both Art and English
during High School. Now I am coding my own websites - this blog here,
and a social media site centered around writing (details pending!).
I'm also writing a few nonfiction books of my own and creating a tarot
deck, designed to be easy for new users.
In the future, I hope
to build a straw bale home - A natural & passive style home that, if
made correctly, should save me money on the house and on the bills,
work super efficiently, and avoid adding to the used construction
material occupying 40% of the USA's landfills, as well as the 40% of
carbon pollution that real estate releases around the world.
My dream home would be on my dream permaculture homestead, where I
grow my crops in the forest & alongside helpful livestock to get better
harvests, nutrients, and fertilizers while getting as much out of my few
acres as possible. (I'm thinking the barns and sheds are going to be a
breeze, financially, although they may take a few years to fully
complete.)
I'm hoping this permaculture farm will be a place
to study and document (take pictures & draw) the natural environment as
well as to continue to innovate the way we farm, and will introduce that
innovation to others.
I've only played the magic classes in Skyrim, I'm reading a book
about making a sweater from scratch, and Leonardo Da Vinci is my favorite
person, ever. I hope you enjoy my new blog, I'll be trying to publish at
least every two weeks, which seems like a reasonable goal for now. <3 :)
.jpg)